1. Understanding the Mechanics
The Trigger Break
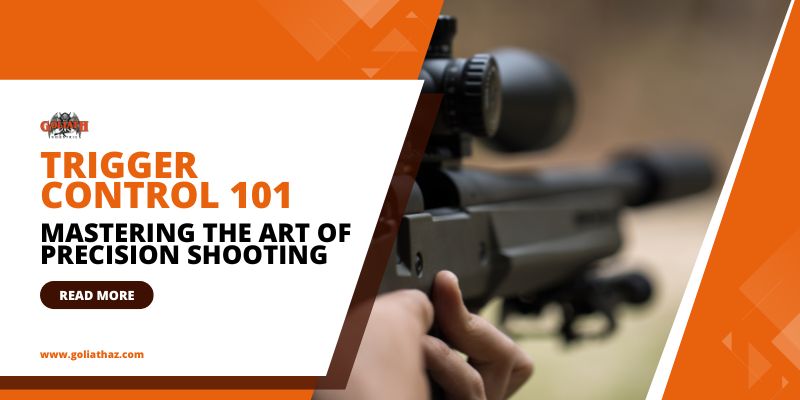
The moment the trigger breaks—when the sear releases and the firing pin strikes the primer—is critical. It’s the culmination of everything you’ve done leading up to that point. Here’s what happens during the trigger break:
- Seamless Pressure: As you apply pressure to the trigger, your goal is to maintain sight alignment. Imagine a smooth, continuous motion rather than a sudden jerk. The trigger should move straight back without disturbing your aim.
- Surprise Break: The term “surprise break” is often used because you want the shot to surprise you. Anticipating the recoil or trying to time the shot can lead to flinching or pushing the muzzle off target. Instead, focus on maintaining your sight picture and let the shot break naturally.
2. Understanding the Trigger Mechanism in Depth
A. Types of Triggers
Different firearms come with various trigger mechanisms, each affecting how you approach trigger control:
- Single-Stage Triggers: These triggers offer a consistent pull weight from start to break, ideal for precision shooting. Focus on smooth, uninterrupted pressure.
- Two-Stage Triggers: The initial stage allows you to take up slack before hitting a defined break point. It’s useful for shooters who want to prep the trigger before committing to the shot.
B. Trigger Reset
Understanding and mastering trigger reset is crucial for rapid follow-up shots, especially in competitive shooting or defensive scenarios:
- Reset Point: After firing a shot, allow the trigger to move forward just enough to reset, avoiding the need to release it completely. This reduces unnecessary movement and improves shot cadence.
- Training the Reset: Practice feeling the reset during dry fire sessions. Gradually increase speed while maintaining accuracy.
3. Fine-Tuning Your Technique
A. Trigger Finger Placement
- Pad vs. Joint: Use the pad (the soft part) of your trigger finger, not the joint. Placing the joint on the trigger can lead to inconsistent pulls. The pad provides better control and sensitivity.
- Straight Back: Your trigger finger should move straight back. Avoid any lateral movement. Imagine there’s a rail, and your finger slides along it.
B. Preparation and Take-Up
- Grip: A solid grip is essential. Your support hand should apply pressure forward, while your trigger hand maintains a firm but relaxed hold.
- Sight Alignment and Breath Control: Before taking up the slack, ensure your sights are aligned. Take a deep breath, exhale partially, and hold your breath momentarily. This helps stabilize your body.
- Slack and Take-Up: As you begin taking up the slack, feel for the initial movement of the trigger. It’s the slight play before you encounter resistance. Maintain sight alignment during this phase.
C. The Break and Follow-Through
- Surprise Yourself: When the shot breaks, it should catch you off guard. If you’re anticipating it, you might flinch or push the gun. Trust your training and let the shot surprise you.
- Follow-Through: Keep your sights aligned even after the shot. Don’t immediately relax your grip or drop the gun. Follow through as if you’re waiting for a second shot.
4. Common Pitfalls and Advanced Troubleshooting
A. Jerking the Trigger
- Solution: Focus on a gradual, even press. Imagine squeezing an orange rather than snapping a twig. Smoothness matters.
B. Heeling or Pushing Shots
- Solution: Pay attention to your grip. Ensure your trigger finger moves straight back without any lateral force.
C. Anticipating Recoil
- Solution: Trust the process. Surprise yourself with the shot. Remember, you’re in control.
D. Over-Gripping
- Solution: Ensure your grip is firm but not overbearing. The support hand should apply lateral pressure, while the firing hand focuses on trigger control.
E. Trigger Freeze
- Solution: Incorporate trigger reset drills into your practice. Focus on releasing the trigger to its reset point immediately after the shot breaks, allowing for faster successive shots.
5. Dry Fire Practice and Live Fire Drills
Dry Fire:
Unload your firearm and practice trigger control without live ammunition. Work on your technique in a safe environment. Regular dry fire practice is essential not only for improving trigger control but also for overall firearm maintenance. Ensuring your firearm is clean and well-maintained will prevent malfunctions and provide a smoother trigger pull during practice.
Live Fire Drills:
- Slow Fire: Take your time. Focus on precision.
- Timed Fire: Introduce a time constraint to simulate real-world scenarios.
- Multiple Shots: Practice follow-up shots while maintaining trigger control.
Advanced Live Fire Drills:
- The Wall Drill: Stand close to a wall with an unloaded firearm. Align your sights with a small target, such as a dot on the wall. Slowly press the trigger, focusing on a smooth motion without disturbing your sight alignment.
- Ball and Dummy Drill: Have a partner load your magazine with a mix of live rounds and snap caps (dummy rounds). As you shoot, any flinch will become apparent when the gun fails to fire. Focus on maintaining control and sight picture regardless of whether the round fires.
6. The Psychology of Precision Shooting
A. Mental Conditioning
- Visualization: Before each shot, visualize the perfect trigger press and follow-through. This mental rehearsal primes your body for the correct action.
- Breathing Techniques: Advanced shooters use breathing techniques not just for physical stability but also to control their mental state. Practice diaphragmatic breathing to maintain calm and focus.
B. Handling Stress and Pressure
- Stress Inoculation: Train under simulated stress by introducing time constraints, physical exertion, or competitive scenarios. Gradually increase the intensity to build resilience.
7. Precision Shooting in Adverse Conditions
A. Environmental Factors
- Wind: Learn to read wind speed and direction, and adjust your hold accordingly. Practice in varied conditions to build adaptability.
- Temperature: Cold can stiffen your muscles and affect your trigger pull. Dress appropriately and consider using hand warmers to maintain dexterity.
B. Shooting Positions
- Prone: Offers the most stability, but be mindful of trigger discipline as the low position can alter your perceived pressure.
- Kneeling/Sitting: These intermediate positions require more conscious control to maintain stability, especially when transitioning between targets.
8. Seek Professional Guidance
Consider taking a firearms training course. An experienced instructor can provide personalized feedback and help you refine your skills. If you’re in the area, gun shops in Lake Havasu often offer classes and expert advice for shooters of all levels. Becoming a better shooter is a journey. Celebrate progress, stay safe, and enjoy the process!
